Windows does not have a package manager to fetch all of the icedb dependencies, making the initial build icedb on Windows a rather elaborate process. Thus, these instructions show how to get the latest versions of the Microsoft Visual C++ compiler, CMake and Boost; also, instructions on how to acquire and compile zlib and HDF5 are provided.
Requirements:
- A C++ 2014-compatible compiler. This includes any recent versions of gcc/g++, LLVM/clang, Microsoft Visual Studio 2017, or the Intel C++ compilers.
- CMake (generates the build scripts and finds library locations)
- NetCDF, HDF5, ZLIB (needed to store and read the database)
- git (it provides some information to the build system)
- Doxygen (optional; generates local html documentation of the library functions)
- LLNL Silo (optional; used to build a visualization plugin)
Compiling with Microsoft Visual Studio / Visual C++
This is the easiest option. If you cannot use / are ineligible for VS2017 Community Edition, you can either acquire a license to another edition or you can try to build icedb using MinGW or Cygwin.
In academic and government settings, Visual Studio is usually available. Ask your IT department.
Getting Visual Studio
- Visit https://www.visualstudio.com/downloads/, download VS2017 Community Edition.
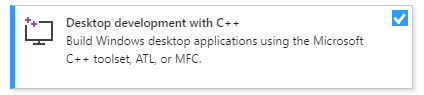
- Run the installer. When it asks about which components to install, ensure that the “Desktop development with C++” option is checked.
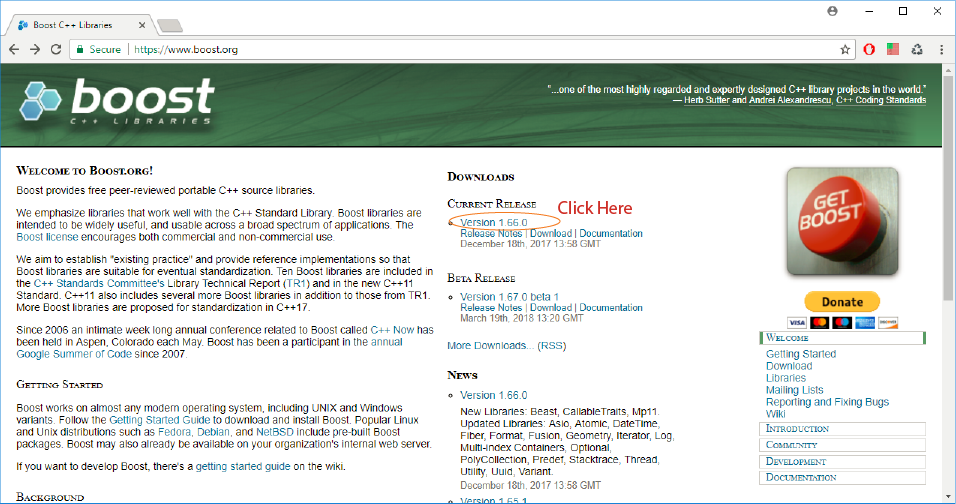
Getting the Boost libraries
- Visit the Boost Project website. On the right-hand pane, select the current release version. NOTE: Click on the release name, and NOT the Download link. The Download link takes you to the source code, which is not what we want.
-
Select “Windows Binaries” under Third Party Downloads. Several options are available, corresponding to different system architectures and compiler versions.
-
Select the executable for “msvc-14.1-64”, which corresponds to a 64-bit build on Visual Studio 2017 (C++ compiler version 14.1). Run the installer, and be sure to remember the installation directory. By default, this is under “C:\local\…”. For CMake, this directory will be known as the BOOST_ROOT directory. If you cannot install software on your development machine, then you may have to change this installation path.
Getting CMake
- Download CMake from https://cmake.org/download/. Scroll down to “Binary distributions”, and select the option for the “Windows win64-x64 Installer”. NOTE: if you cannot install software on your system, then grab and extract the ZIP file somewhere.
Using CMake on Windows
![]()

Getting and building zlib
- Download the zlib source code from https://zlib.net/.
- Extract the code into a directory.